ASP.NET Web Forms
Adding a GridView
Once a suitable data source is in place, a GridView can
be dragged and dropped into the web page either in
design view or code view. Rename is suitably, for
example CustomersGridView.
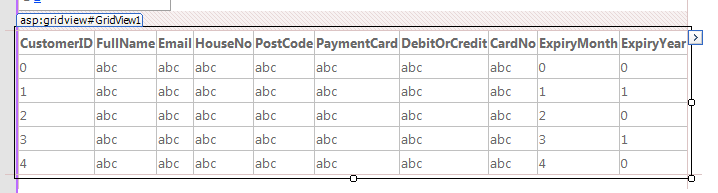
Switch to Design view and select "Choose Data Source.
There should be just one data source available in this
case the CustomersDataSource. If the fields do not
appear in the grid columns immediately select Refresh Schema
from the components menu
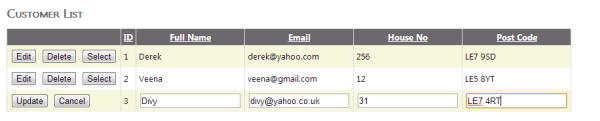
In order to update the data Enable Editing and Deleting. If you have more than
50 records then Paging can be Enabled. Typically Grids are used
to enable the user to selected a record which is then used in
some way. In which case Enable Selection. To Help the user
view the data Enable Sorting by column.
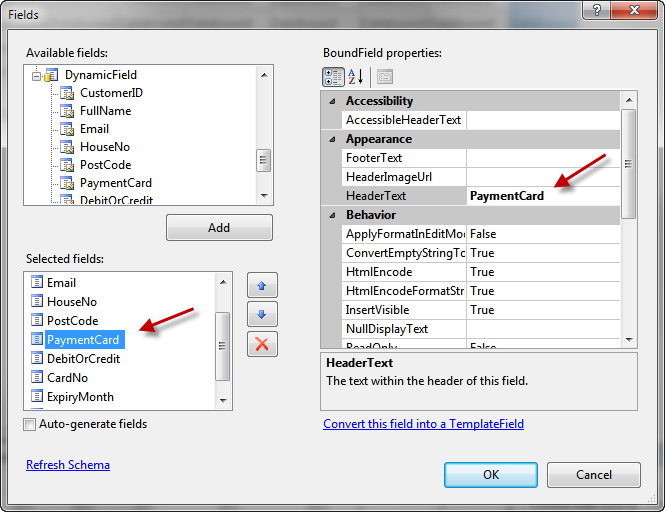
Editing Columns
Quite often there
are too many fields to display and they will not fit accross
the screen. In which case select Edit Columns
and change their properties such as header text to make the
field names more readable, or add a format string. Fields can
be removed but IF YOU REMOVE FIELDS FROM THE
GRID, YOU MUST ALSO REMOVE THEM FROM THE DATASOURCE. Otherwise
the datasource will still update those fields with nulls.
Fields can also be moved left or right, and
command fields can be changed from links to buttons or images
(icons). Finally you can automatically format them from preset
colour schemes, or apply styles form your css sheet using the
cssClass property.
That is all it takes. Rows can now be edited and updated, and rows
can be deleted. No Visual Basic or C# code has yet been written!!!!
To insert new rows however requires a DetailsView component added to
the same or a different web page.
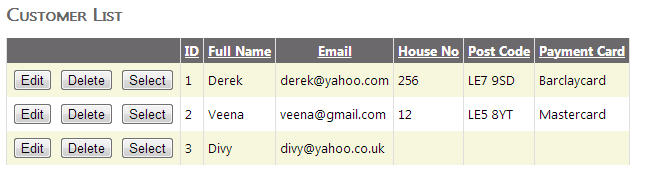
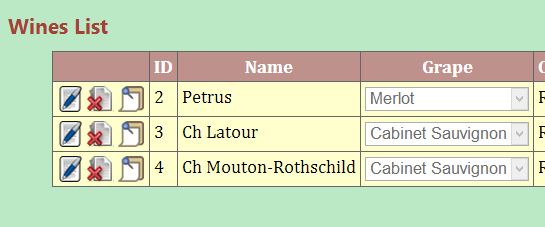
Using Icons Instead of Buttons
Links or Buttons tend to take a lot of room in a grid view. Icons have the advantage
that they take up less space, and they can be more intuitive to use. To switch to
icons, add the icons to your images folder, and then edit the GridView columns, and
switch Button Type to icons, and then select the icon urls. There are
a minimum of 5 icons needed for Select, Edit, Delete, Update and Cancel.
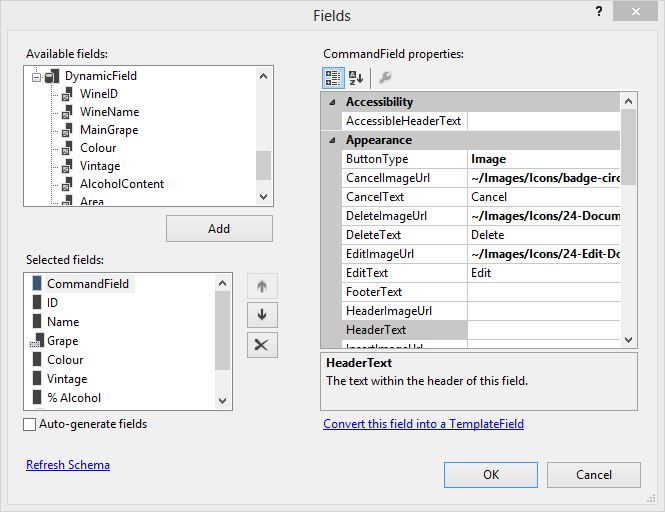
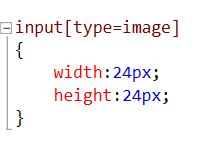
Unfortunately the icons may need to be styled, if so then they can be selected
in Css using input[type=image]